




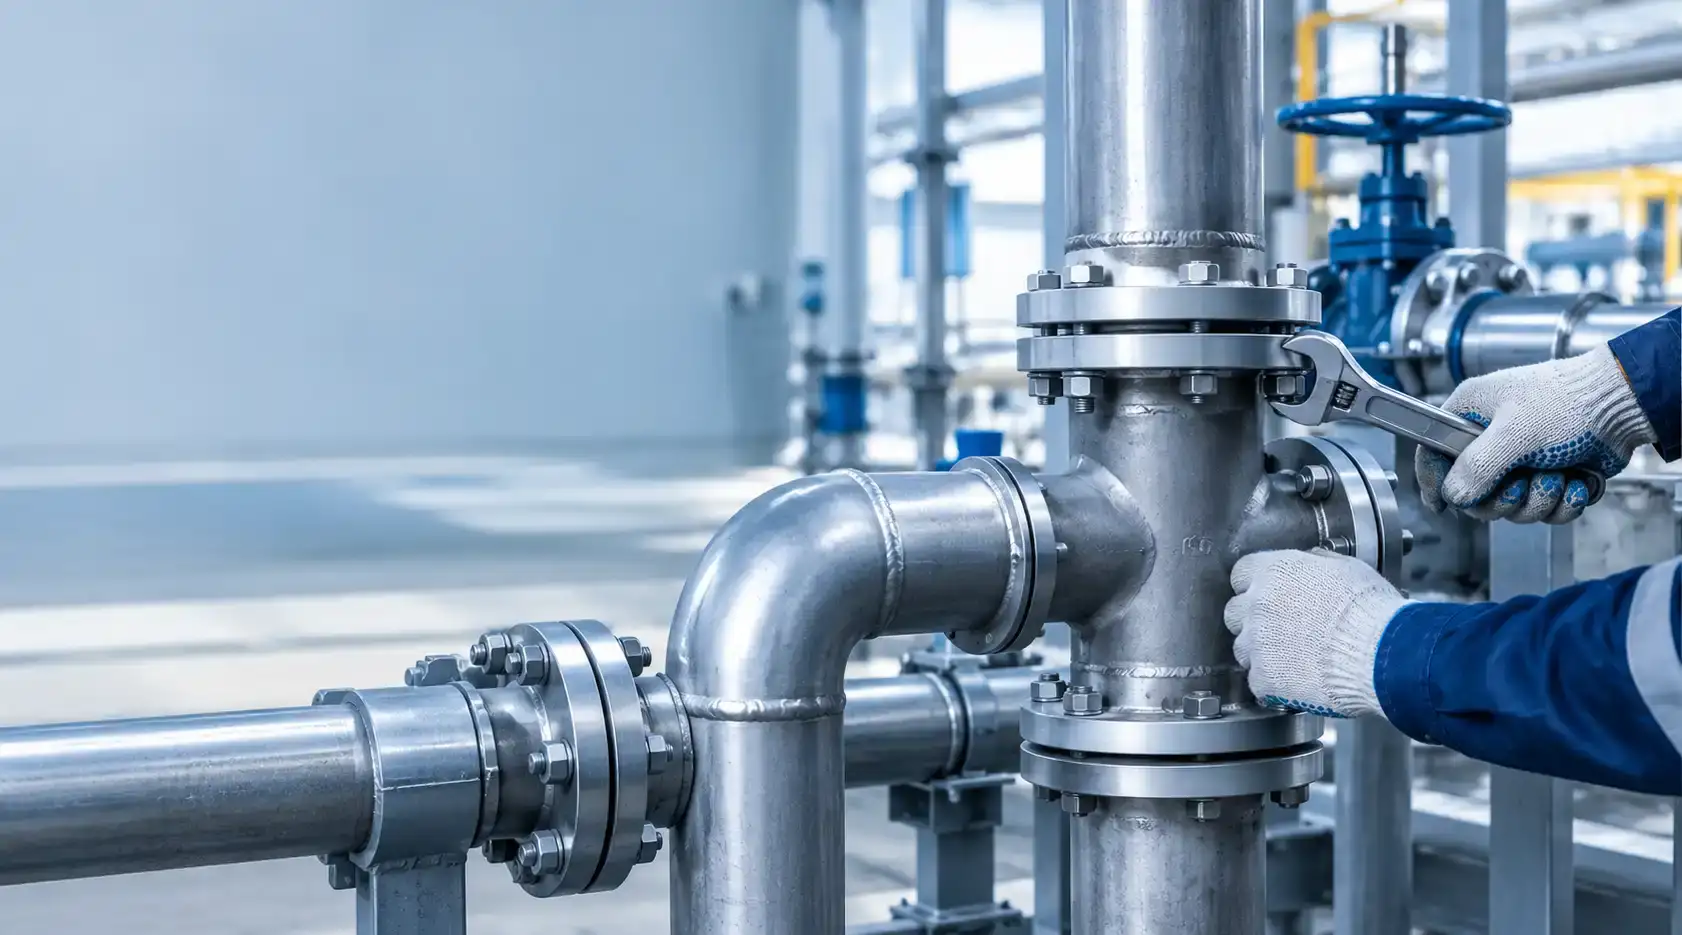
Every piping system fails at its weakest point. More often than not, that point is the fitting and not the pipe. Improper pipe fitting installation creates slow leaks that go unnoticed until damage spreads. Moisture seeps into walls. Pressure drops disrupt performance. Consequently, what begins as a minor oversight can evolve into structural repairs, downtime, and cost escalation.
Moreover, poor fitting practices compromise safety. Contaminated water lines, unstable joints, and sudden bursts are not rare; they are predictable outcomes of rushed work. In other words, Bad fittings don’t fail immediately. They fail when it’s expensive.
The objective, therefore, is not speed. It is controlled, repeatable accuracy.
Before execution, clarity matters. Each fitting serves a distinct purpose, and misuse can reduce system efficiency.
Elbows redirect flow, typically at 45 or 90 degrees.
Tees divide or combine flow lines, making them essential in distribution systems.
Couplings join two pipes in a straight line.
Unions allow disassembly without cutting, which is especially useful during maintenance.
Reducers manage diameter transitions. Without them, pressure imbalance becomes unavoidable.
These terminate lines, sealing the system when expansion is planned or when sections are inactive.
Material selection introduces another layer of efficiency and complexity for the installers. Choosing the correct material is crucial for long-term system performance. PVC offers corrosion resistance and is quite lightweight, which means fewer installation hassles and easy replacement. But on the downside, it is unsuitable for high-temperature systems. Steel can handle pressure but requires careful maintenance to prevent corrosion. Another common material is brass, which delivers a balance of durability and adaptability, especially in fixtures. Cast iron, however, is good for one specific purpose: drainage. This is because it is rigid and heavy.
Understanding these distinctions reduces error before tools even touch the pipe.
Preparation defines outcome. A missing tool mid-task often leads to improvisation, and that is where mistakes begin.
Preparation, in this context, is not a checklist. It is risk control.
Accurate measurement extends beyond pipe length. It includes fitting depth, thread engagement, and alignment allowance. Failing to consider all these dimensions is a critical mistake; the result is a final assembly that either strains at joints, increasing the risk of pipe bursts, or fails to align cleanly, leading to leakage.
Surface condition determines joint integrity. Micro gaps usually form because of surface faults like dirt, oil, or burrs. Pipe edges should be smooth to keep internal flow unobstructed. Clean pipe ends also let sealants cover the area better and form a stronger bond that oil or dirt can't weaken.
Threaded fittings require controlled sealing. The best way to ensure this is to apply PTFE tape in the direction of the thread, so it tightens with the fitting.
Overapplying tape is never advisable, as it creates pressure within the threads and can cause cracking or misalignment. Additionally, combining tape with sealant may be necessary in high-pressure systems, although it must be done with restraint.
Sealing is precise work. Not excessive. Not careless.
Alignment is often rushed. It should not be.
Fittings must sit naturally within the system. Forced alignment introduces stress, which remains hidden until failure occurs. Pipes should meet fittings without resistance. If adjustment is required, correct the pipe, not the fitting.
This step determines long-term stability more than tightening ever will.
Tightening is where many installations go wrong. Excess force damages threads, weakens materials, and reduces lifespan. Tighter is not safer. Smarter is.
A controlled approach, firm, then slightly adjusted, ensures proper sealing without structural compromise. With plastic fittings in particular, restraint is critical.
No installation is complete without testing. Pressurize systems under working conditions to reveal weaknesses.
Address even minor leaks immediately. Delayed correction compounds issues, especially once systems are enclosed or operational.
Testing is not a formality. It is verification.
Installation errors rarely stem from complexity. They arise from skipped fundamentals.
Awareness of these mistakes is vital to take the necessary precautions during installation. That means less rework and a higher installation success rate.
Regular inspection is essential for early problem detection. Neglecting this area means problems will compound and cause a major breakdown. Many problems like leaks, corrosion, and surface damage often begin with minor effects.
Joints should receive focused attention. In many cases, visual cues like discoloration, residue buildup, or moisture marks are enough to tell something is wrong. Catching the problem early means only minor corrections instead of full system repairs.
Not all leaks are visible. Pressure monitoring can confirm a leak but isn't completely accurate. Simple methods, such as soap testing, can reveal air leaks in pressurized systems. These techniques, although basic, are effective when applied routinely.
Another vital maintenance procedure, particularly for systems exposed to vibration or thermal expansion, is periodic tightening checks. Because these systems are regularly exposed to pressure, fittings can gradually loosen. A tightness check addresses this problem.
However, approach repeated tightening cautiously. Excessive adjustment weakens threads. Instead, evaluate the cause before applying force.
Cast iron fittings require some different maintenance practices. The material is strong, but it is also brittle and quite prone to internal corrosion.
Over time, rust forms within the pipe walls, reducing flow efficiency and increasing contamination risk in systems that require purity. External corrosion also weakens structural integrity, especially in humid environments.
Cracking is another concern. Unlike flexible materials, cast iron does not absorb stress well. Load shifts or improper support often lead to fractures.
Surface rust, flaking, and leaks around joints are the first signs that the cast iron is deteriorating. Don't dismiss these signs, as they often warn of a bigger problem.
To maintain cast iron, corrosion control should be a major priority. One way to do this is to use protective coatings to prolong the life of cast iron exposed to the elements. Drying cast iron on the outside helps reduce oxidation and is particularly effective in poorly ventilated areas.
Another crucial part of cast iron fittings maintenance is preventing blockages in the cast iron drainage system. Cast iron drain systems often accumulate blockages due to grease and solid waste buildup. By periodically cleaning the system, you ensure continuous water flow and relieve internal pressure.
How you handle and install cast iron fittings also affects their lifespan. When installing cast iron fittings, provide proper support so the weight is evenly distributed. When cast iron fittings receive a sudden impact or an uneven load, stress occurs, causing them to fail.
Thus, maintenance should focus on preventive measures rather than reacting to problems.
Consistency defines professional work in plumbing. Not speed. Not improvisation. Each fitting installed correctly reduces future workload. Each inspection performed on time prevents larger intervention. Over time, these small actions build system reliability and professional credibility. That is the real objective.
Exhaust gases are generated by all vehicles. These gases must leave the engine rapidly and in a controlled manner. Th...
READ FULLYour exhaust pipe is straining every other day. It removes hot gases from your engine and helps keep your car running...
READ FULLOEM manufacturers and auto repair shops regularly inspect exhaust pipes. It is not something that you purchase and fo...
READ FULL